Pokechill Battle Frontier Guide: Teams & Tests
Prepare a flexible team, run a short controlled test, and read the reward screen before you turn a new Battle Frontier activity into a long idle loop.

Pokechill Game Guide Editor · 9 min read

What the Pokechill Battle Frontier rework confirms
Searchers using the phrase Pokechill Battle Frontier guide usually need a decision they can act on: which team to try, what to watch during a run, and whether a reward is worth changing their plan. The current official V3.0 update is useful because it confirms that Battle Frontier is undergoing a large rework. It describes new activities built around damage optimization rather than survival alone, with deeper choices for single-type and dual-type Pokemon.
That announcement is a scope signal, not a complete strategy database. It does not publish a permanent list of Frontier stages, a guaranteed reward table, a universal best six, or a single damage number that every account should hit. Treat those details as version-sensitive. If the activity panel, tooltip, or reward screen in your current game disagrees with an older guide, the current game wins.
This page therefore separates confirmed facts from practical testing. The confirmed part is the direction of the rework and the importance of damage choices. The practical part is a repeatable method for checking your own roster. It also keeps the boundary clear from the Pokechill Announcements page: that page explains how to verify updates, while this one explains what to do when you open the Frontier activity.
Use the Pokechill Wiki as a lookup hub, the Best Team Guide for general roles, and this article for the Frontier-specific test loop. A guide that admits what is not confirmed is more useful than a confident list copied from another Pokemon game.
Prepare a team before entering Battle Frontier
This Pokechill Battle Frontier guide starts with the job your current team must perform instead of a perfect counter. A stable lead should survive the opening exchange, a primary attacker should make visible progress against the target, and at least one partner should answer a matchup or status problem. A sixth slot can be a flexible replacement rather than another version of the same attacker.
Inspect the Pokemon you plan to use before spending a rare resource. Check displayed level, IV quality, ability, moves, type, item, and evolution stage. The public Pokechill guide explains that stats, moves, abilities, status, teams, and items all affect battle decisions. The Items Guide can help you understand an item's purpose, but the current in-game tooltip should decide a version-sensitive effect.
Think in coverage pairs instead of a single headline Pokemon. If your main attacker is strong but every teammate shares its weakness, the party may fail for a predictable reason. Keep one replacement that changes the matchup, one option with better durability, and one move or ability that addresses a status problem when the interface makes that option available. This is the same role logic used in the Best Team Guide, narrowed to a Frontier test.
Finally, record a baseline before entering: party order, approximate clear time, visible damage pattern, and the resources you are willing to spend. A baseline prevents a lucky run from looking like proof. It also makes it easier to undo a change when a new item or move improves one stage but slows the rest of your loop.
| Role | What to check | Safe first decision |
|---|---|---|
| Lead | Survival, speed, and the first visible matchup | Keep a lead that clears the opening consistently. |
| Main damage | Move category, type, and damage progress | Test the attacker before adding expensive upgrades. |
| Coverage | A different type, move, or ability | Use one partner to answer the first verified weakness. |
| Fallback | Durability or a different route role | Keep a replacement ready instead of rebuilding six slots. |
| Resource slot | Item cost and long-term team value | Spend only after the test identifies a bottleneck. |
Run a controlled damage test
A short test is more valuable than a long idle session when a mode is changing. Enter with the baseline party, run only long enough to see the first meaningful pattern, and write down what actually happened. Did the lead fall before the team could show damage? Did the attacker make progress but lose to a status effect? Did the run end cleanly but produce a reward you cannot use? Each answer points to a different next step.
Change one variable per attempt. Swapping the lead, changing a move, replacing an item, and evolving a Pokemon at the same time makes the result impossible to interpret. Keep the route and party order steady while you test one adjustment. If the change helps, repeat it once before you spend more. If it hurts, revert it and keep the observation as useful evidence.
The phrase how to beat Battle Frontier Pokechill should not force you into a universal answer. The same activity can expose different bottlenecks on a new account and a developed account. A new player may need levels or a stable route; a developed player may need a damage type, a status answer, or a better resource trade. Your first failure point is more actionable than a copied tier label.
Use this Pokechill Battle Frontier guide loop whenever the mode or your roster changes. It gives you a controlled way to learn without treating an unverified community claim as a rule.
- Inspect. Read the current activity label, opponent information, move details, and any visible condition before you commit.
- Run short. Use the baseline party for a brief sample; stop before a long unattended session hides the cause of a loss.
- Name the failure. Record the first clear problem: fainting, slow damage, status, missing coverage, or an unclear reward.
- Change one thing. Swap one lead, teammate, move, item, or level milestone, then repeat the same test.
- Confirm. Repeat a useful change once and keep it only when the result matches your goal.
Read Pokechill Battle Frontier rewards without guessing
The keyword Pokechill Battle Frontier rewards has a different job from a team query, while this Pokechill Battle Frontier guide keeps the reward decision practical. It asks what the activity pays out and whether the payout changes a player's next decision. The current evidence does not provide a complete, permanent reward table. Community reports can point you toward a possibility, but they are not enough to promise a species, item, quantity, or drop rate for every version.
When a run ends, capture the exact reward text shown by your game before you change the team. Separate a guaranteed display from a random possibility, and note whether the reward came from the Frontier activity, a trainer encounter, or another screen. If a reward looks new after an update, compare it with the official announcement and then test it again on a short run.
Judge the reward against your current bottleneck. A resource that looks rare may be less useful than a common item that fixes your team's verified weakness. Check whether you need damage, durability, evolution progress, a move, a shiny or IV project, or storage space. The Rotation Guide is useful once you know the reward supports a repeatable route rather than a one-off experiment.
Avoid spending because a reward is exciting. Save a screenshot or note, verify the current tooltip, and decide whether the item improves the next test. This keeps reward interpretation separate from wishful farming and protects rare resources when Battle Frontier rules are still moving.
- Name the source: write down the exact activity or trainer screen that produced the reward.
- Name the certainty: mark the reward as displayed, observed once, repeated, or only reported by another player.
- Name the bottleneck: ask whether the reward solves damage, survival, coverage, evolution, or resource flow.
- Name the next test: use one short repeat to see whether the reward changes the result you care about.
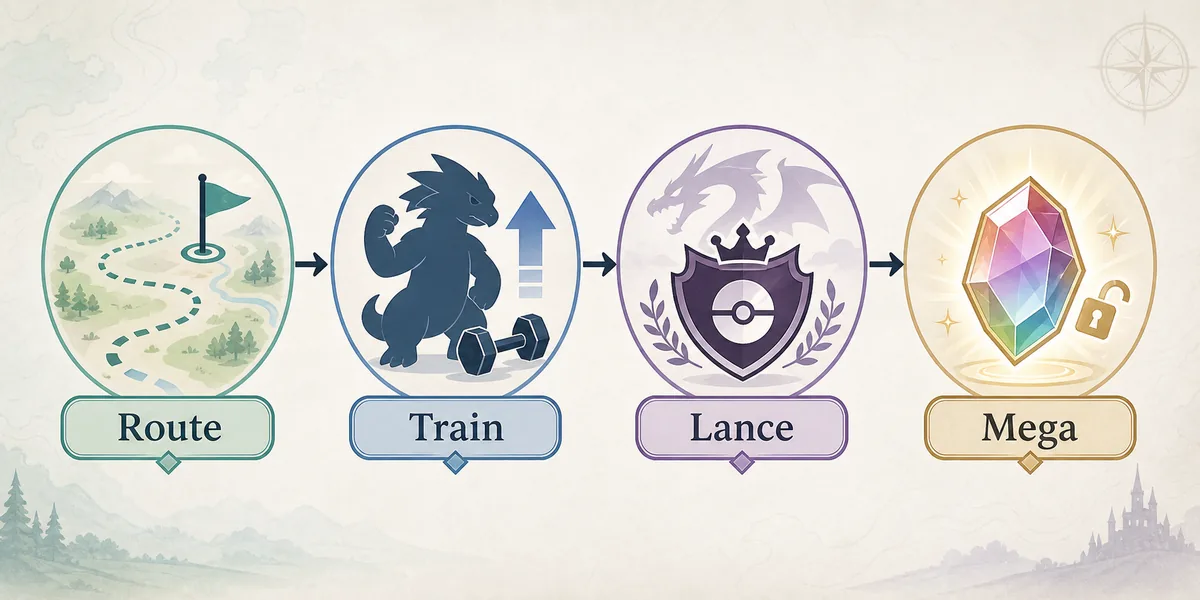
Fix the first failure point before rebuilding
A failed run is a diagnosis opportunity. If the same member falls at the same point, inspect survival and the damage shown there before replacing the entire team. If the run is slow but safe, compare move category, type, and upgrade value before assuming that a higher level is the only answer. If a status effect interrupts the team, look for a documented response in the current move or item list.
Do not let a Frontier loss push you into random Genetics operations. Genetics can support a long-term host and sample plan, but it is not a substitute for identifying the problem. Check the Genetics Guide when a specific trait is worth transferring, and keep the Frontier test focused on the one result you are trying to improve.
A replacement that helps early can still leave a later role empty. After a change, check the full run: opening stability, damage progress, status handling, reward value, and resource cost. If the result improves one stage and breaks another, keep the useful observation and test a different slot instead of declaring the whole idea wrong.
Use this Pokechill Battle Frontier guide table as a prompt for the next controlled attempt. It is deliberately phrased as a test, because the official sources do not establish a universal counter list.
| Observed signal | Possible issue to test | One next test |
|---|---|---|
| The same member falls first | The role may not survive the displayed damage | Try a sturdier candidate in that slot. |
| The main move barely progresses | Move category or matchup may be poor | Inspect one alternate move or attacker. |
| Status stops the loop | The team lacks an available response | Check the current move and item details. |
| A replacement helps only early | Another role is now missing | Keep the change and adjust one different slot. |
| Results vary between attempts | Route, order, status, or version context changed | Record the setup and repeat like with like. |
Build an update-safe Battle Frontier loop
Once a short test is stable, this Pokechill Battle Frontier guide can become a repeatable loop. The Pokechill Auto Repeat and Rotation guides can help with route discipline, but a Frontier run still needs a recent check after a patch, a major evolution, a team change, or a reward change. Automation should repeat a known plan; it should not hide an untested one.
Keep a small dated note with the party order, activity label, one observed reward, and the first failure point. You do not need a long spreadsheet. The point is to notice when a result changed because the game changed, not because you forgot which item or move was active. This is especially useful while the V3.0 rework is adding depth to the mode.
After an update, perform one verification pass before leaving the game idle. Read the current activity text, run a short sample, inspect the reward panel, and compare the result with your note. If the change affects damage or reward value, pause long farming until you know whether the old loop still matches your goal.
A good Battle Frontier guide leaves room for the game to evolve. Use the method to make better decisions today, link to the Announcements guide when you need update context, and keep unconfirmed numbers out of your permanent plan.
- Before a long loop: confirm the current activity, party order, storage space, and one clear farming goal.
- After a patch: repeat a short run and compare displayed damage and rewards with your dated note.
- After an evolution: retest the route because speed, durability, and coverage may have shifted.
- When evidence is unclear: pause expensive upgrades and trust the live game text over a stale list.
Pokechill Battle Frontier FAQ
What is the best Pokechill Battle Frontier team?
The available sources do not establish one permanent best team. Start with a stable lead, a main damage role, a coverage partner, and a fallback; then use a short test to identify the missing role in your own run.
How do I beat Battle Frontier in Pokechill?
Inspect the current activity, run a short baseline, record the first failure point, change one variable, and repeat. The right answer depends on the displayed matchup, status, damage, and your roster.
What rewards does Pokechill Battle Frontier give?
Do not rely on a permanent fixed list. Read the exact reward panel in your current game, record whether it was repeated, and verify version-sensitive changes against an official announcement.
Did V3.0 change Battle Frontier?
The official V3.0 update says a large Battle Frontier rework begins, with new activities focused more on damage optimization and deeper choices for single-type and dual-type Pokemon. Specific rules should still be checked in game.
Should I use Genetics before Battle Frontier?
Only when the test identifies a clear trait project. Do not use Genetics randomly to solve an unknown matchup; review the host, sample, compatibility, and resource cost first.
Can I leave a Battle Frontier run on auto repeat?
Only after a short run is stable and the reward matches your goal. Retest after patches, evolutions, major team changes, or any update that changes damage or reward text.
Sources and scope
The V3.0 update page confirms the Battle Frontier rework direction, new damage-focused activities, and broader single-type and dual-type choices. It does not publish a permanent reward table or universal team. Pokechill Update V3.0
The public game guide is used for general references to stats, moves, abilities, status, teams, and items. The current in-game interface remains the authority for version-sensitive values. PokeChill Game Guide and Wiki