Pokechill Items Guide: Categories, Uses, and Safe Decisions
A practical way to read item information, sort resources by purpose, and decide whether to use, save, or wait without inventing effects that the current game version has not confirmed.

Pokechill items guide: What Pokechill items are for
The phrase Pokechill items can mean several different things: a resource that helps a catch, a requirement that opens an evolution, a material connected to IVs or Genetics, or a reward that is useful only after a later unlock. That is why an item list without context can be misleading. The safest starting point is the purpose shown by the current game tooltip and the goal you are pursuing in this session.
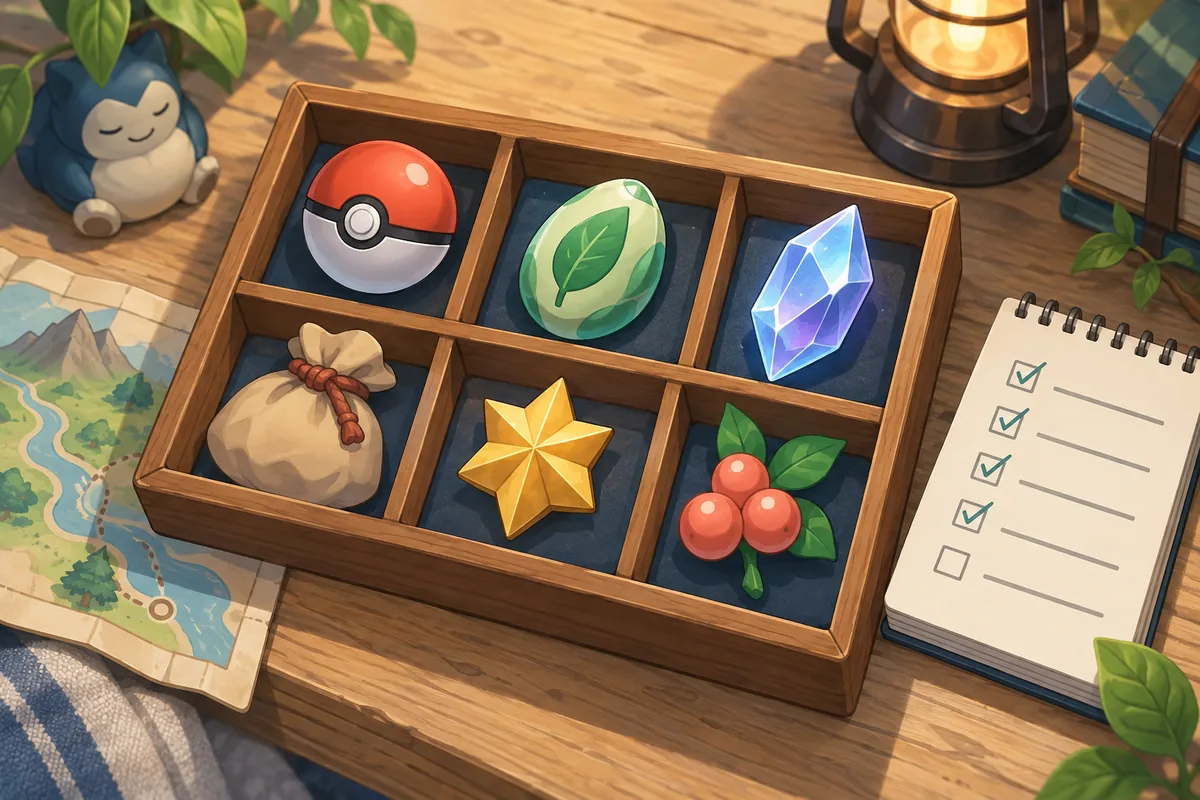
Item categories
Start by sorting an item into a broad category. Categories are more reliable than assumptions about a specific item because they describe the decision you need to make. An evolution resource asks whether the target Pokemon is ready. A catching resource asks whether the next encounter is worth improving. An optimization resource asks whether the item belongs on a long-term team or should be tested on a temporary build.
The table below is a planning framework, not a promise that every category has the same effect in every update. Use the category to decide what to inspect next, then confirm the exact wording in the live game. If the item does not clearly fit, mark it as unknown and keep one sample until you can compare it with a tooltip, an unlock condition, or a repeatable result.
| Category | What to look for | Best first action |
|---|---|---|
| Evolution resources | A named Pokemon, level, stage, or unlock condition. | Check the Evolution Chart and wait until the target is ready. |
| Catching resources | A catch, encounter, collection, or route-related phrase. | Use it when the next encounter supports your current team goal. |
| Optimization resources | IVs, Genetics, moves, abilities, or long-term quality. | Compare the target with your team plan before committing it. |
| Progression rewards | A zone, milestone, cap, or feature unlock. | Save it if the next unlock is not yet visible. |
| Temporary boosts | A time limit, one-run effect, or route-specific bonus. | Use it at the start of a planned session, not while testing. |
| Unknown or version-sensitive items | An unclear name or an effect that the tooltip does not explain. | Keep one sample, note the screen, and avoid spending the stack. |

How to verify an item before using it
Verification does not require a complicated spreadsheet. Open the item tooltip and copy the important words into your notes: target, trigger, duration, limit, and result. If the text names a Pokemon or evolution stage, compare it with the Evolution Chart. If it names IVs, traits, or inheritance, move to the Genetics Guide before you spend a rare resource. If it mentions a route or encounter, compare it with the Rotation Guide and your current farming goal.
Next, separate what the game states from what you infer. The statement “usable on this target” is a fact. The conclusion “this is the best target” is a strategy choice that depends on your team, stage, and future replacements. Keeping those two layers separate makes the guide safer and helps you revise a note when the game changes.

Items, Genetics, and team planning
Resources become more valuable when they interact with a long-term team. Before using an optimization item, decide whether the target Pokemon is a core member, a temporary bridge, a Genetics sample, or a replacement candidate. A strong item on a temporary Pokemon can feel good for one session but leave you short of the material you need for the final team.
Use the Best Team Guide to define the role you are trying to fill, then use the Tier List for broad ranking context. The item decision happens between those pages: you are asking whether this resource improves coverage, stabilizes an idle route, protects a rare trait, or simply makes a number look better. If it does not solve a current bottleneck, saving it is a valid action.
Planning rule
Spend an item when it removes a known bottleneck for a named target. Save it when the target, effect, or next unlock is still uncertain. Waiting is part of resource management, not a failure to progress.
Should you use, save, or wait?
Use this table when an item arrives during a route, catch, or evolution session. It keeps the decision tied to evidence instead of excitement. Keep this Pokechill items guide nearby when the next resource decision is unclear.
| Situation | Decision | Reason |
|---|---|---|
| The tooltip names a ready evolution target. | Use | The trigger and target are visible, so the result is testable. |
| The item names a future stage you have not reached. | Save | The resource may be more useful when the requirement is active. |
| A route bonus matches tonight's farming goal. | Use | A planned session gives the temporary effect a clear job. |
| The item has an unclear effect or no readable tooltip. | Wait | One unknown spend can remove the evidence needed to identify it. |
| The target is a temporary team member. | Usually save | Keep rare optimization materials for the core role unless the upgrade fixes a real bottleneck. |
| You have duplicates and a confirmed repeatable use. | Use a measured amount | Test one or two first, then keep a reserve for a changed route or update. |
For a broader progression route, compare this decision with the Faster Guide and Rotation Guide. They help you choose when a resource supports stable progress rather than a single exciting result.
Item priorities by stage
Your priority changes as the team and route mature. The stages below describe what to ask, not a fixed shopping list. Keep this Pokechill items guide nearby when the next resource decision is unclear.
| Stage | Priority | Action |
|---|---|---|
| First sessions | Understand the tooltip | Keep one sample of anything unclear and spend only confirmed basic resources. |
| Building a stable team | Match role and coverage | Use resources that solve a type, route, or survivability bottleneck. |
| Preparing evolution | Protect requirements | Check the target stage and hold evolution resources until the path is ready. |
| Genetics planning | Preserve options | Separate samples, hosts, and optimization materials before committing. |
A repeatable item decision flow
A compact flow is easier to follow during play than a long list of effects. Start with the tooltip, name the current goal, and check the target's readiness. Only then choose use, save, or wait. If any step is unknown, stop at wait and gather one more piece of evidence. Keep this Pokechill items guide nearby when the next resource decision is unclear.
| Step | Question | Decision |
|---|---|---|
| 1. Read | What target, trigger, or duration does the tooltip name? | If nothing is clear, save one sample. |
| 2. Match | Which current goal would this resource support? | Name one goal: evolution, catch, team, or route. |
| 3. Check | Is the Pokemon, stage, route, or feature ready? | If not ready, wait and keep the item. |
| 4. Record | What happened after a measured test? | Keep the note and reserve the rest. |
Common item mistakes
Spending before reading
An attractive icon is not an effect description. Open the tooltip first, especially when a resource could be tied to evolution or Genetics.
Treating a category as a guarantee
Calling something a catching resource does not prove its exact bonus. Category helps you choose a check; the current game text supplies the claim.
Using rare materials on a temporary Pokemon
A short-term damage improvement can hide a long-term cost. Compare the target with your Best Team role before committing.
Testing a whole stack
Use one copy in a low-risk situation, record the outcome, and keep a reserve. A changed route or update can make that reserve valuable.
Before-you-spend checklist
- Read the tooltip. Write down the target, trigger, duration, and limit.
- Name the goal. Decide whether the item supports evolution, catching, optimization, or a route.
- Check the target. Confirm that the Pokemon, stage, feature, or route is ready.
- Compare the plan. Use the Tier List, Best Team Guide, or Genetics Guide when the choice affects a core member.
- Test one copy. Prefer a reversible or low-risk situation for an unfamiliar resource.
- Record the result. Note what changed and whether it matched the visible wording.
- Keep a reserve. Do not spend the entire stack until the use is repeatable.
Pokechill items guide FAQ
How to use this guide
This page separates durable decision advice from version-sensitive item effects. For exact game behavior, prefer the current in-game tooltip and any visible unlock message. The site's Wiki provides the category index, while the Evolution Chart, Genetics Guide, and Best Team Guide handle deeper decisions. Keep this Pokechill items guide nearby when the next resource decision is unclear.
Use this Pokechill guide as a terminology check: when Pokechill items appear, name the items before choosing one. Keep a Pokechill guide note for each item, compare items by purpose, and update the guide when a tooltip changes. Review Pokechill items in the guide before spending items; label the items and keep the items list current so each Pokechill item has a clear use. A Pokechill note keeps the record tied to the current tooltip.
Last updated: October 12, 2026